
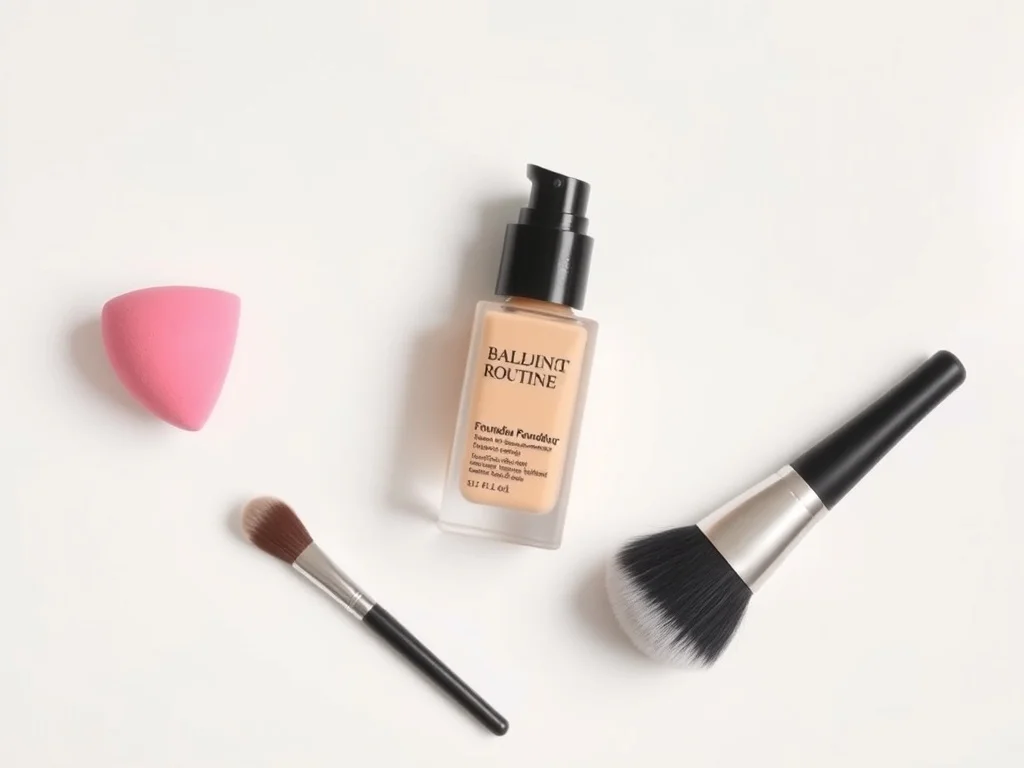
How to Start Wearing Foundation with Vitiligo: A Beginner's Routine
If you have never used camouflage makeup before, the sheer number of products, techniques, and tutorials can be more overwhelming than the vitiligo itself. You do not need seven products and a colour wheel to start. You need one product and a realistic first attempt.
Start with one product, not a routine
The instinct is to research the “perfect” multi-step routine before starting. Skip that. Buy one camouflage-specific product, and learn how it behaves on your skin before adding anything else.
A reasonable starting point
Dermablend Quick-Fix Concealer
A single product, straightforward application, widely used specifically for vitiligo camouflage — a solid first purchase while you're learning technique.
Check Price on AmazonBuilt specifically for vitiligo
Zanderm Vitiligo Concealer
Comes with more vitiligo-specific guidance than general-purpose makeup brands offer, which helps if you're starting from zero.
Check Price on AmazonEither is a fine place to start. The specific brand matters less at this stage than simply learning what “thin layer, colour-matched, set with powder” actually feels like on your own skin.
The actual steps
- Wash and dry the area completely. No moisturizer underneath for your first attempts — you want to see how the product behaves on bare skin before adding variables.
- Colour-match in natural light. Test a small amount on the edge of a patch, not your wrist — skin tone varies by location, and wrist skin does not predict facial or body tone well.
- Apply a thin layer with a sponge or your fingertip, whichever the product recommends. Camouflage makeup is more pigmented than you expect — a little covers more than it looks like it should.
- Let it sit for 60 seconds before judging the color. Many camouflage products oxidize slightly and settle into their true shade after a minute, not immediately on application.
- Build a second thin layer only if needed. Two thin layers almost always look better and last longer than one thick one.
- Set with translucent powder, pressed on rather than swiped, to lock the pigment in place.
Only cover the patches, not your whole face
A common beginner mistake is trying to apply foundation across the entire face to “even everything out.” This usually looks less natural, not more — you end up managing two textures (full coverage vs. bare skin) instead of one clean transition at the patch edge. Camouflaging just the depigmented areas, and letting the rest of your skin stay as it is, blends better and takes less product.
What “good enough” looks like at first
Your first few attempts will not look flawless, and that is fine. The realistic goal for week one is coverage that reads as “even skin tone” from a normal conversational distance — not close-up, high-definition-photo perfect. That standard gets easier to hit as you learn your product and your own skin.
My take
The advice that would have saved me the most time starting out: one product, thin layers, patches only, and give yourself two or three weeks before judging whether a product is “working.” Most of what looks like a bad product in week one is actually a technique that improves fast with a little repetition.
